
Ableton Live 10 Update Review
By Heinrich Zwahlen
Having used the beta now for while, I’m looking forward to the official Live 10 release on February 6th so my students can enjoy it too.
The update delivers a combination of powerful new devices for sound design, mixing and workflow improvements for arrangement, audio editing and midi recording.
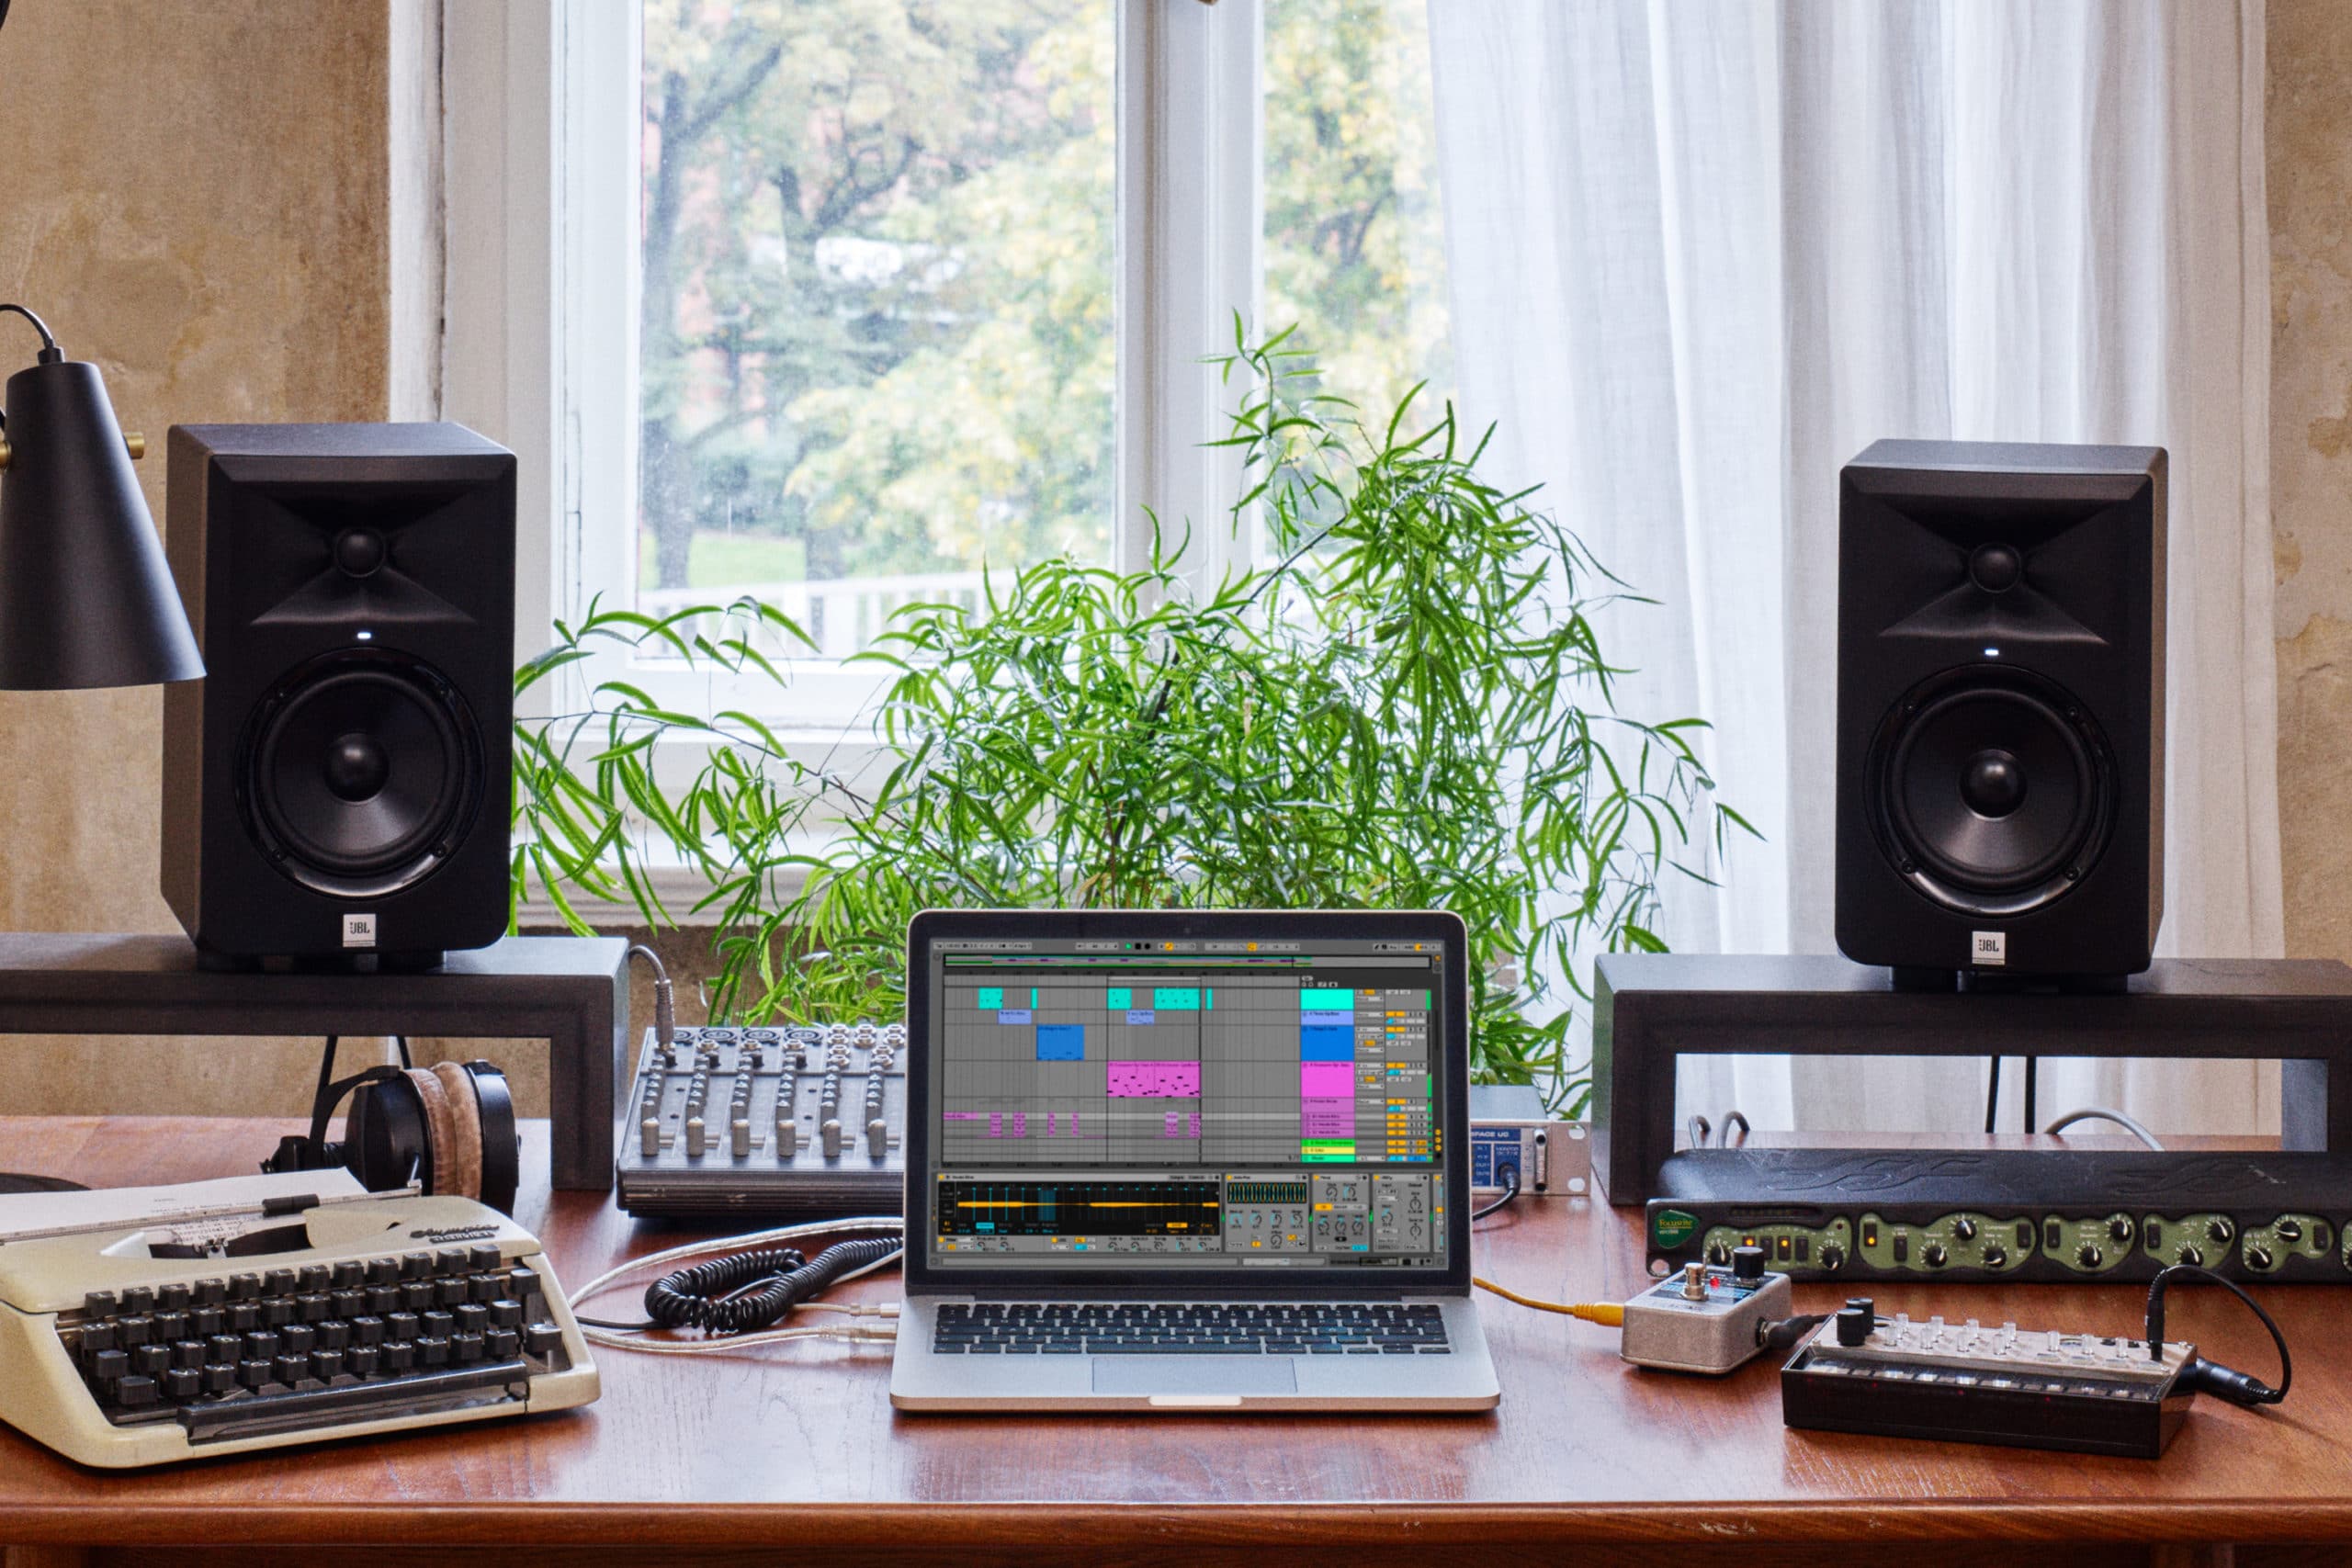
As a long time Live user, I’m happy that Ableton finally updated the look of Live. The new darker themes, the crisp Ableton Sans font, and also the extended use of colors create an overall experience that is much easier on the eye, and also more functional with more visual feedback and an improved fluidity of operation. Overall, Live 10 appears to be looking clearer and moving more smoothly, and there are underlying technical reasons for this, as some motion frame rates are higher and vector graphics are used instead of bit maps for knobs and sliders.
Opening Live 10 for the first time, I observed an unexpected speed bump compared to opening Live 9, and that might be due to the better M4L integration. The same applies even more for closing times of big Sets that sometimes dragged out a bit beyond my patience. Loading times of sets that require a lot of samples is also a bit snappier now.
These two improvements alone make Live 10 already a winner for me, and I’m glad to not have to go back to Live 9 now that the update has been released.
Beyond that, there are many additions and improvements; some bigger and some more subtle ones.
First there are some game-changing functions and new devices that should also entice non Live users to finally take the plunge, and there are the finer and more technical points in this review that might only be fully appreciated by those that already have been using Live.
The good news for existing users is that they don’t have to totally learn a new user interface and workflow, as many of the changes are just incremental improvements of the existing and well tested functions. This is an important balance to strike when updating legacy programs that have as deep a history as Live.
Other DAWs have not been so kind and have proven to be quite disruptive with the their updates.
Here are my personal top 10 additions:
More Intuitive Midi Recording Workflow with Capture
When recording vocalists or performers in the studio, a good rule for the engineer is always to be ready to start recording immediately, even while the performer is still warming up. It’s the first take that sometimes makes the best cut. Likewise, when loading up sounds they usually inadvertently inspire us to play some beats or musical parts, and often the best ideas come right away as we start to play, and then we wish we would been recording when we hadn’t.
Switching from Logic to Ableton years ago, the biggest thing I missed was Record Capture. It let me turn anything I just played on the fly into a recording. A new Capture command will take care of that now in Live 10, and so first ideas will never be lost again. Thanks to Capture, I can now just load up a sound and start playing around until I feel good about a part, and Capture will even set my tempo and retain all my playing, even if it went on for a long time. I then can easily locate the section I like best using the loop brace. Unlike in Logic, the sequencer does not even have to be in play mode to achieve this!
Wavetable Synthesis
A new synth featuring wavetable synthesis. You already might know Massive, Serum or Waldorf Nave. Now we have Wavetable inside Live 10 Suite, and I could argue that this addition alone justifies the upgrade price! This synth sounds great, looks great, is easy to learn, and easy on the cpu.
Scrolling the the many wavetables and combining them in two different oscillators is a great start before adding filters and applying modulation and movement via the matrix. The lfos and loopable envelopes can be used to modulate the wavetables both vertically by scrolling through the waveforms, but also at the same time by modulating the waveforms with FM, changing their pulse width or applying Phase Distortion.
The morphable multimode filters can be configured in parallel, series or split mode, and also offer a great selection of vintage filter models with built in drive functionality for hotter or dirtier timbres. Click on a control and it will be added to the Matrix as a modulation destination! ADSR times can be modulated separately. There is also a Sub oscillator that can create additional harmonics, and a unison section that will allocate additional voices in various ways, including by wavetable position and phase sync.
Some powerful new effects and signal processing tools have been added. They are very effective in a musical way, creating a large variety of striking results, very easily based on a relatively simple design.
Echo
A new spacial effect that is combining many different echo and delay effects, along with modulation and reverb. Delays can run free or synced in stereo, ping pong or mid/side mode.
There is a HP and LP filter with resonance.
It’s possible to modulate delay times and filter frequencies, and also mix in an envelope follower as modulation source. One of my faves here is the integrated Reverb that can be placed before or after the delay, and even inside the feedback loop. I wish we could also place the filter in the feedback loop, but then there are workarounds to achieve similar effects with the filter modulation.
Last but not least we have some rather original controls in the Character section. Gate exempts lower signals from being sent into Echo’s effects. A very interesting option to keep parts drier depending on dynamics. Also useful is the Ducking. It reduces the wet signal while the input signal is still present. Noise and Wobble help to simulate vintage tape effects.
Drumbuss
For many producers this will be the favorite, as it has the ability to instantly make drums sound big, fat, dirty or deep. A clever combination of controls allows for the creation of a wide variety of very specific drum sounds in no time with different waveshaping drive modes. A transient shaper and the incredible boom section that boosts the sub bass while controlling its decay and tuning. Tuning drums can really help your mixes, and here we even have a note display to get those lowest frequencies in the right key!
Pedal
The name suggests that it was meant to be a guitar effect, but I love the sound of this simple overdrive effect, and I will mainly use it on synths to add warmth and musical distortion.
While drumbuss will be my go-to signal processing tool for drums, percussion and more rhythmic material, I’m planning to use Pedal for my bass and lead sounds, to add higher harmonics or fuzzy distortion. Going from OD over Distort to Fuzz, we can seamlessly create many shades of overtones, from clean to to heavily distorted with Fuzz. Gain amount being the driving force, the tone controls are particularly effective in this context, and the added sub always does the job wonderfully. Take a simple sine wave as input and Pedal could just make about anything out of it.
Creative Audio Editing
Live has always been at the forefront for transforming and manipulating audio in innovative and drastic ways with its pioneering warping functions.
With this update, Ableton added some slick and easy to use tools for making creative audio editing in Arrangement a breeze, while significantly improving the overall editing workflow. It’s now easier to move clips in the Arrangement thanks to the new mouse cursors. Grab clips above center to move; below the center to select.
We can now stretch warped audio clips by shift dragging the upper border of a clip.
Stretching or reversing of entire clips or selected sections can be done very fluid, and the result could then be consolidated in a new audio clip for later use in Session. The new workflow improvements make the arrangement view an inspiring place for cutting edge sound design with audio. No more splitting necessary. Just select move or edit the selected part of the clip!
Slide across the lower part to select a section; press 0 to deactivate it.
Reversing and shifting clip content in selection.
Press R to reverse selection and Alt/Shift and slide clip content!
Automation
Automation has been cleaned up and made more functional. Not that I had problems with the way it was before, but this update added some new ways of doing things while also addressing some shortcomings.
The big workflow change here is the new Automation mode. The lanes are now hidden by default after selecting a parameter in a device and can simply be made visible on the clip in content mode for editing by pressing ‘A’. That’s nice for freeing up some space and un-cluttering the view and mind.
On the other hand, fades are now always visible on the clip and resizing clips keeps fade length intact.
Now we can double click anywhere on the clip to create quantized breakpoints (they will snap to the grid). This is great for rhythmic movements that are in tempo sync, and when combining that with using the pencil tool, we can now create tempo quantized steps and slides much quicker.
Improved visual feedback for ultimate precision. Check the numeric values by hovering over a breakpoint.
Last but not least: dragging selected breakpoints with shift keeps values locked in position!
This actually is an important fix as dragging complex long automation section along the timeline could be a bit tricky before.
For easier navigation, I also welcome the new zooming functions. Just select a time span and hit ‘Z‘ to zoom in and shift ‘Z‘ to zoom out again. This works both in the arrangement and the detail view.
And using ‘S‘ we can minimize all arrangement tracks!
Browser
When composing music, it’s important to find the right sound quickly in order to keep the focus.
When inspiration strikes, we usually have to pull from things that already have been made, as we most often don’t want to have to do sound design from scratch. That’s where the importance of a well designed browser and library comes in. A great browser is important for the creation of a useful library.
From a practical music making point of view, a good browsing experience has to be a top priority for any DAW. Indeed this is a place where Live has also greatly benefited from this update.
To speed up the search, a good browser has to give us flexible and customizable options for categorization, name giving and tagging. Other browsers (NI) use attribute based search engines, and that certainly is a great way of organizing libraries as long as we can also create our own attributes.
Thanks to the new color feature, we can now tag any file type in the browser with up to 3 colors, while picking from 7 color options. We can rename those color ‘collections’ and in this way create collections according to certain attributes of our own choosing.
This addition alone goes a long way to improve organizational capabilities of Live’s browser.
For my use a Favorites collection seems to be a good tag for starters.
I’m also using the volume envelope as an attribute because envelopes usually suggest a certain use or playing style.
I yet have to do figure out a universal system that works for me, and I’m looking forward to a better organization for my library using the colors.
The common categories we already have in the libraries i.e. bass, leads, keys effects etc. make sense as everybody understands what they mean but they can also be very restrictive, boxing us into something too conventional when making music. Labels that suggest certain uses or musical building blocks are meaningful to an extent but there also has to be an option for more personalization, something we now have by using the color collections; they give us an option for tagging while developing our own categorization and attribute system, and then we the can pair that with the commonly used sound categories.
I also like the fact that we can now hide selected categories from the browser.
‘cause we can do it in the mix.
With this update, we get additional and more sophisticated mixing tools for output routing, panning and better handling of big mixes. Live 10 allows for the creation of nested groups, and this has not only the potential to free up the screen, more groups also provide additional gain staging and signal processing opportunities, and are overall helping to get our mixes better organized and structured.
Nested Groups for a vocal mix
Using multiple vocal groups, a lead vocal often consists of multiple doubled tracks and therefore is made into a group to get the same processing. The various doubled back up vocals are also organized in groups and placed inside a master backup group together. Both groups are forming the master vocal group where they will get some joint processing. This kind of grouping not only makes balancing levels easier, it also allows for more shared processing!
Nested groups not only save us screen real estate but they are also great mixing tools to glue sections together with common processing such as EQ, compression, or spacial effects.
Using nested groups makes it also easier to group an entire set in a sub master group, and with Live 10, we can even load those groups directly from the browser during a performance, and use cross fade to mix them in.
Utility
The improved utility with the mono bass function. Some people voiced concern about the absence of mono tracks in Live when it comes to handle bass, and indeed we want that sub bass to be mono.
Utility will be great behind a drum group, with the Bass mono checked, but any group that has wide stereo sounds that also include low frequencies might benefit from some rebalancing here
Equally the the Split Stereo Pan option answers a popular demand, particularly useful for off-balance stereo samples, or to hard pan stereo outs into two separate mixing busses.
Editing multiple Midi Clips works also in arrangement
We can view and edit events of clips in context with others. Up to 7 clips can be edited at the same time. Clicking on a note or the loop brace makes that clip available for editing. This functionality was also requested, and can be useful to edit instruments on different tracks that interact as a pattern.
Conclusion
Live was already well designed and equipped before this this update, and over time, I only had a few gripes overall. Some important ones have been addressed in Live 10 with the better look, the faster loading and closing, and the improved browsing.
I love the Capture function which I’m now using all the time, even just to get the tempo set by playing.
Wavetable, Echo and Drumbuss are superbly designed additions, and I’m excited about the quicker audio and automation editing in arrangement. Generally, the arrangement was where most changes from the previous version were made, and I think they will prove themselves as being for the better.
Updating always includes the potential of messing up a good thing. In my opinion, nothing is messed up; the 10 update managed to improve on the good that was already there, without causing disruption.
You can also check out a video my colleague at Garnish, New York, Mike Hatsis made at the time of announcement. We have three tiers of Abelton courses at Garnish. There’s our Ableton Production Course, our Ableton Producer Program, and our Electronic Music Comprehensive Academy.